How to Validate Laser Processing Results with Microscopy and Profilometry
Precision Measurement with Digital Microscopy
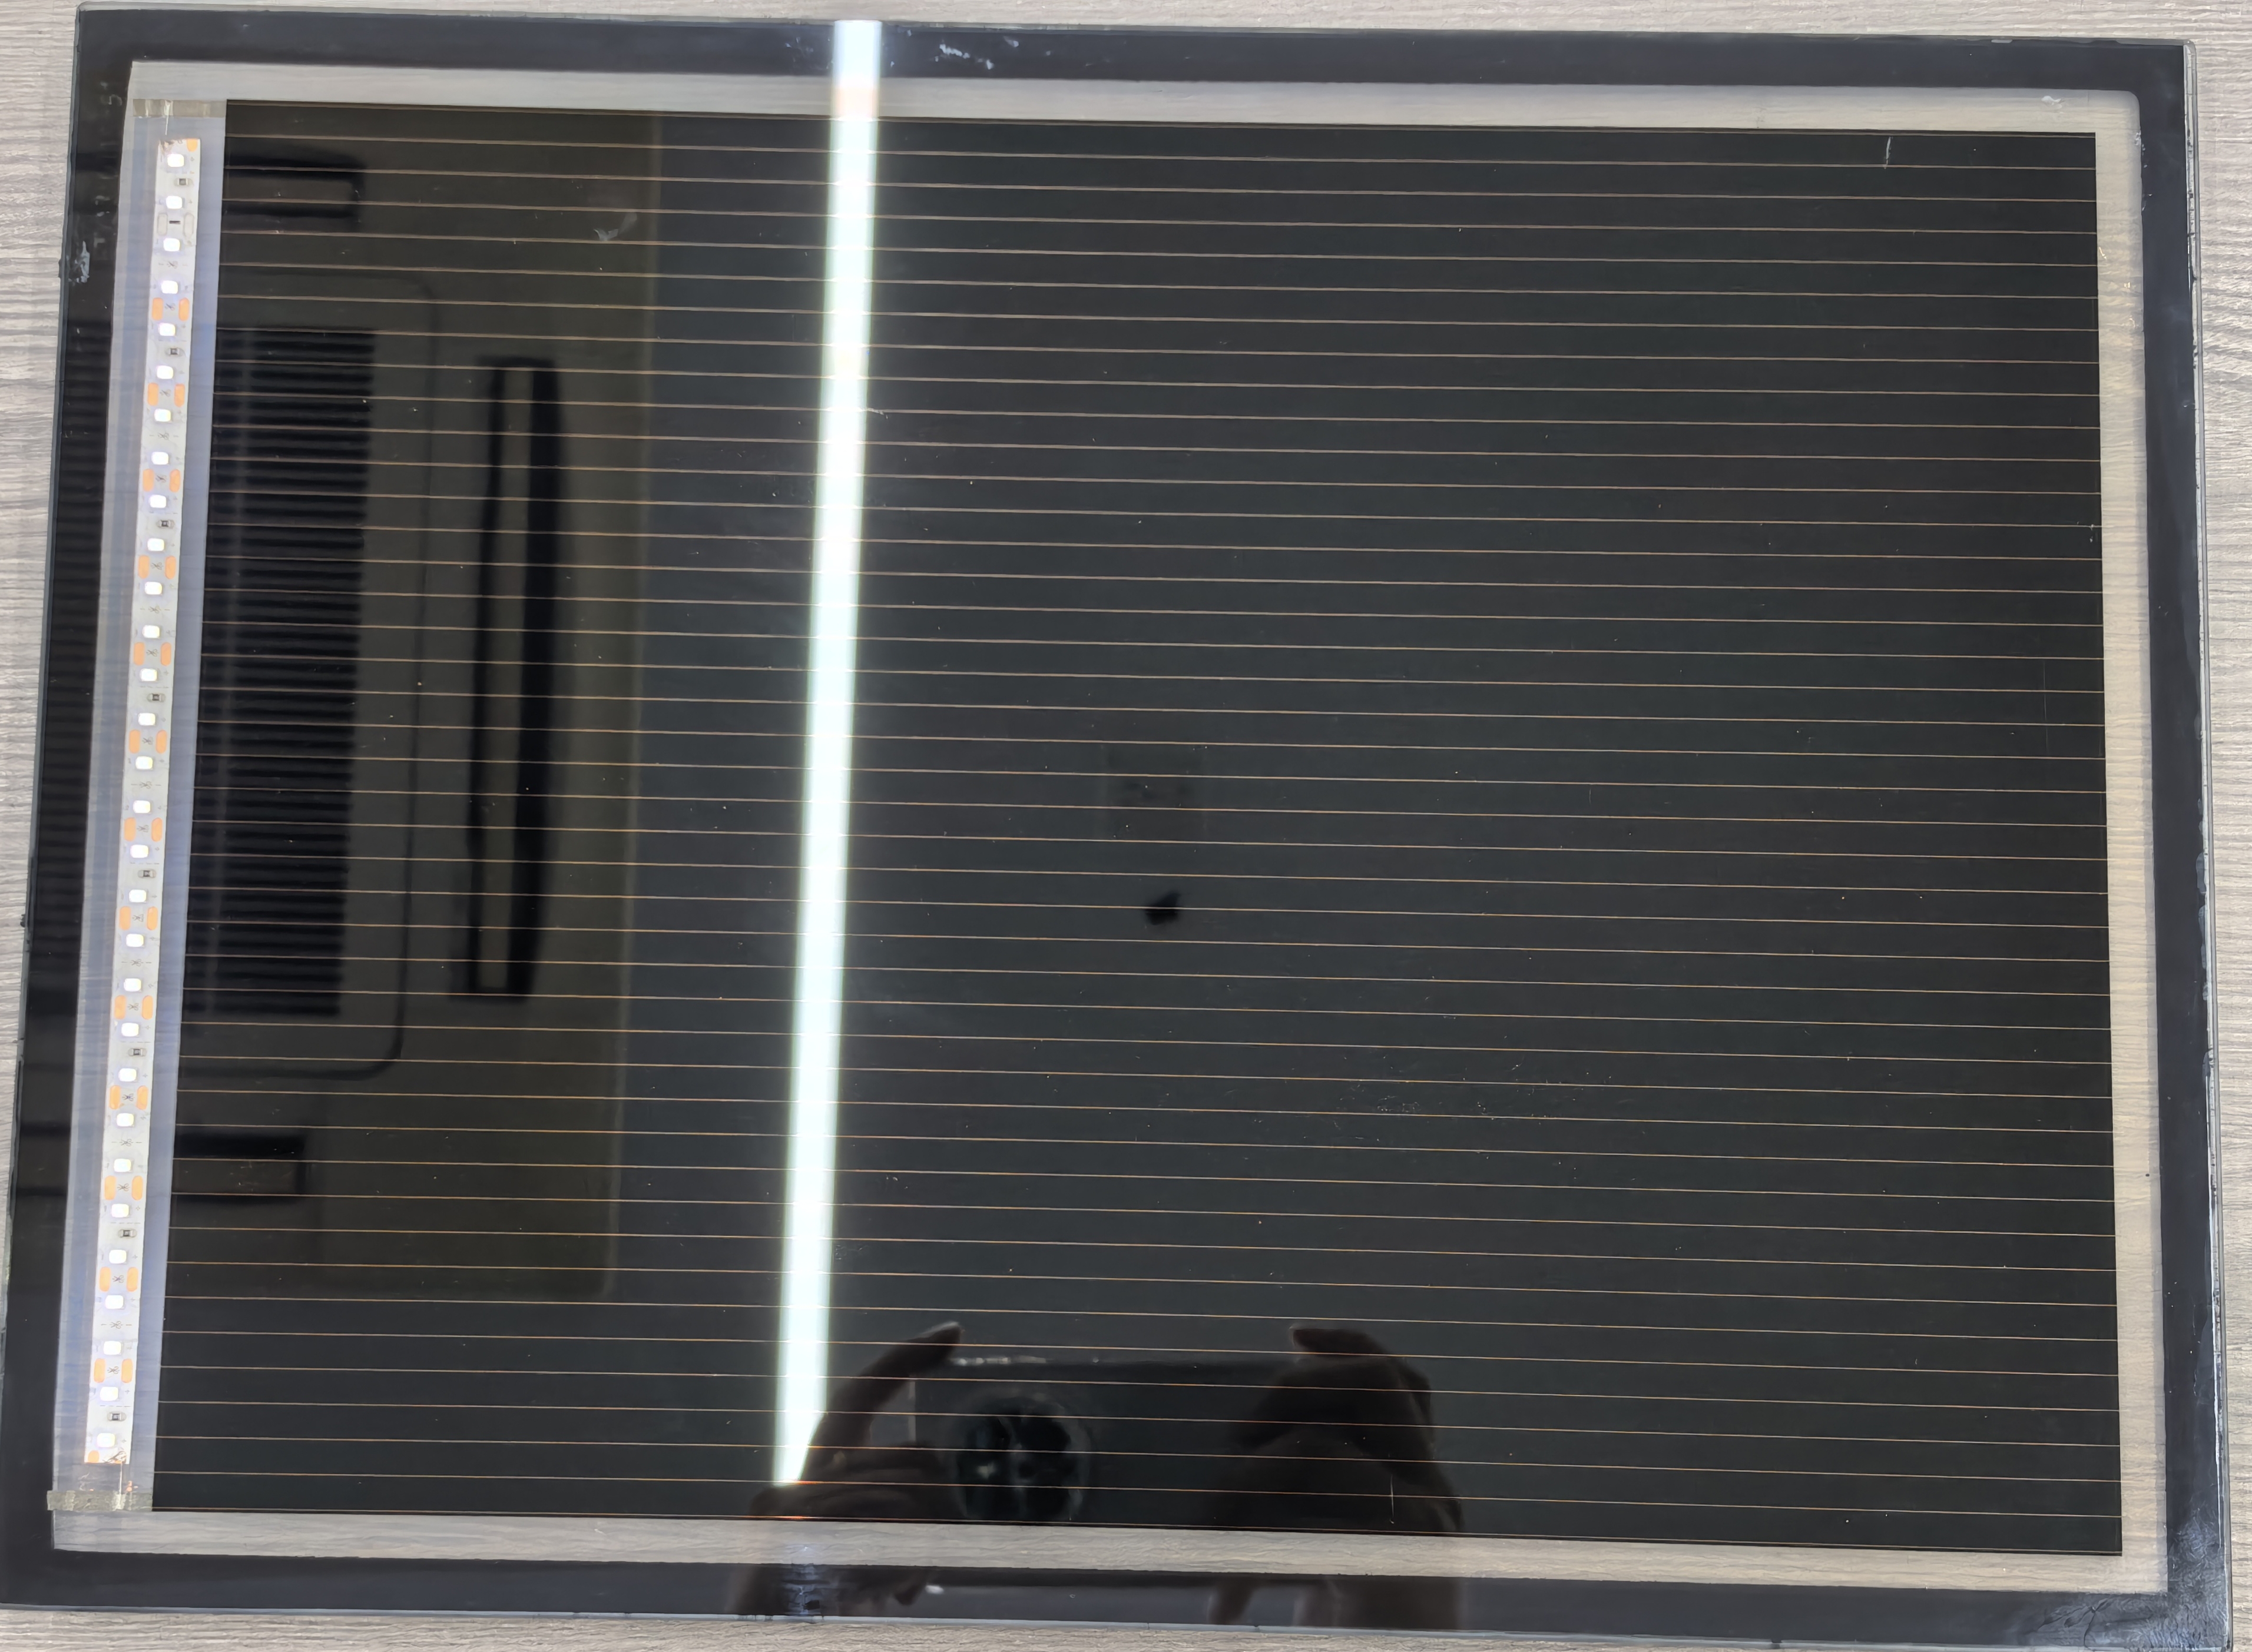
Digital microscopy provides the first-line validation for laser processing quality, enabling direct visualization of critical features such as scribe line width, edge straightness, and surface morphology. Lecheng's laser systems produce P1-P3 patterns with ≤30μm line widths, which require high-resolution microscopy (up to 1000× magnification) to verify conformity to design specifications. For example, in perovskite solar cell manufacturing, microscopy reveals subtle defects like micro-cracks or uneven ablation depths that could cause electrical leakage. Advanced software tools measure dimensional accuracy against CAD designs, while automated image analysis flags deviations exceeding ±5μm tolerances. This non-destructive method is essential for quality control in high-volume production, where rapid inspection cycles maintain throughput without compromising precision.
Profilometry for 3D Topography and Depth Analysis
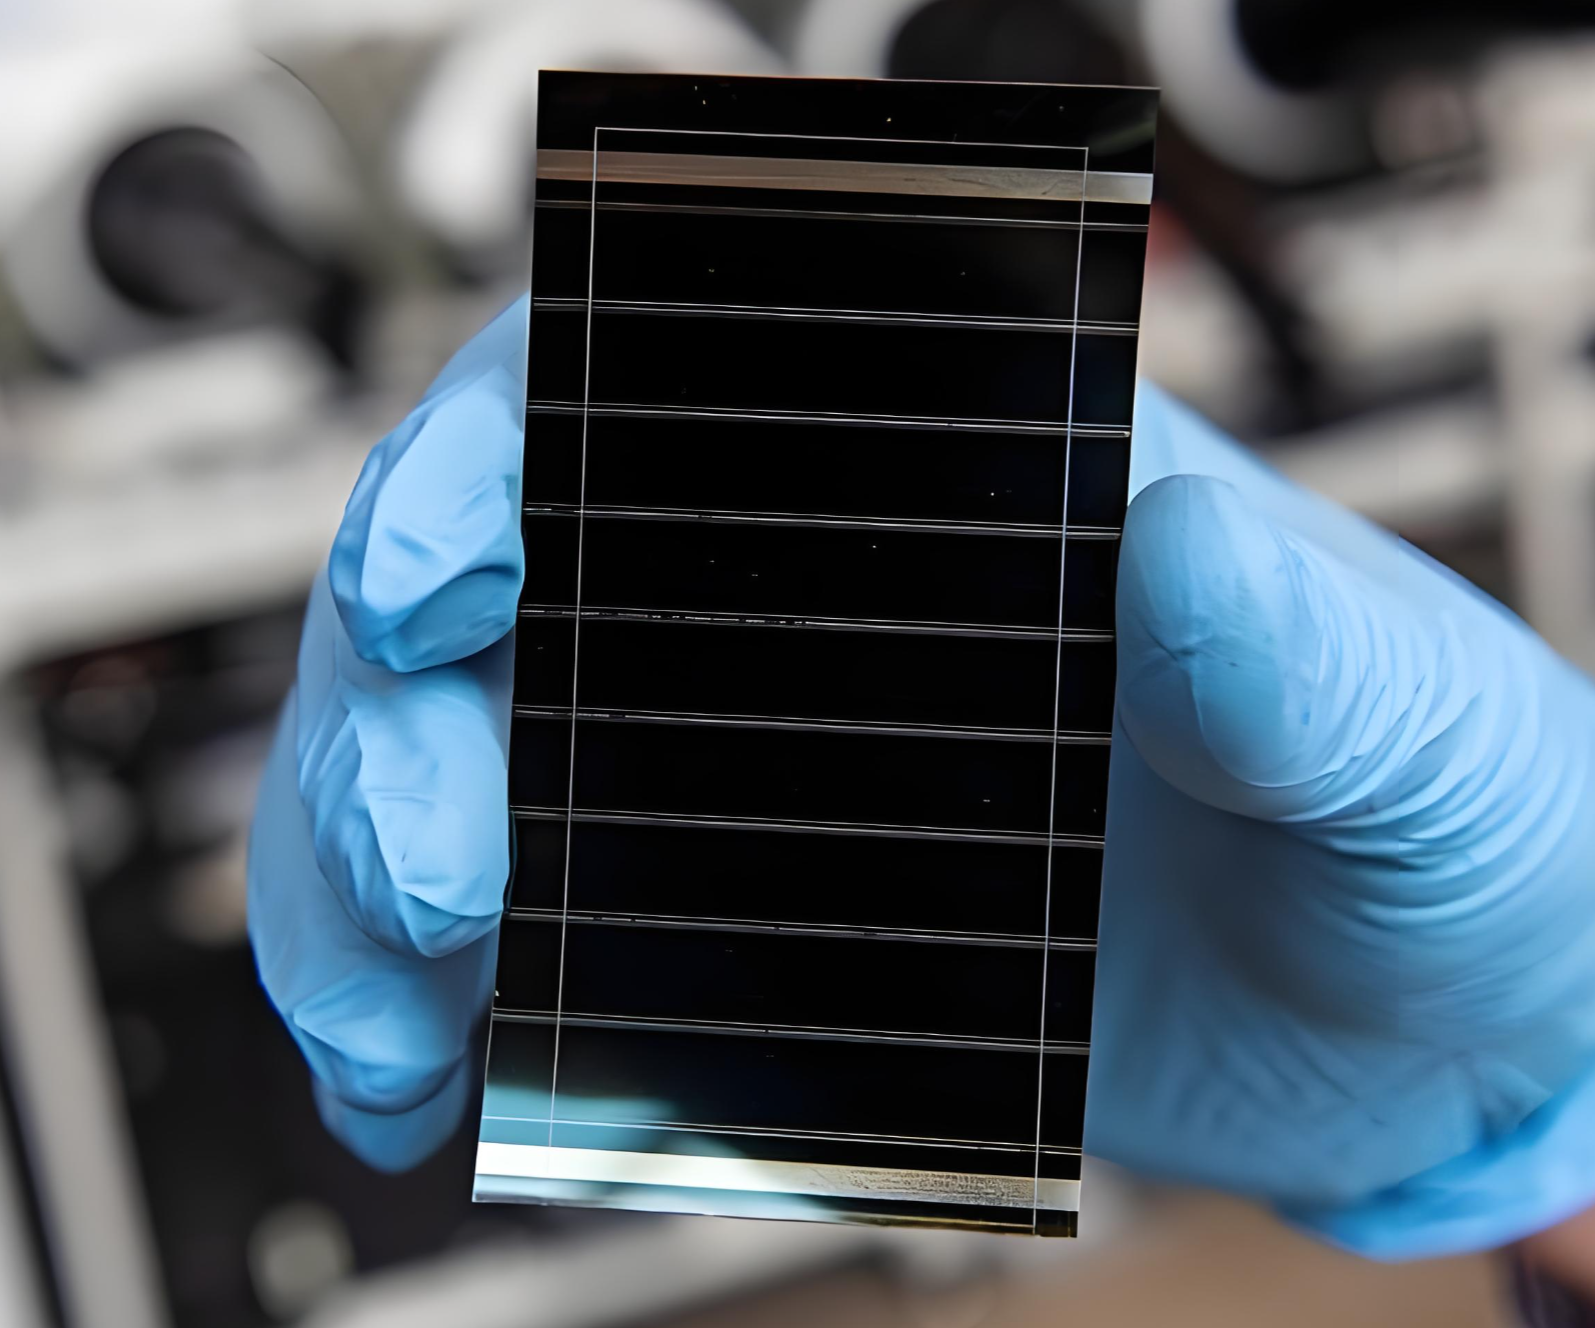
While microscopy assesses 2D characteristics, profilometry captures 3D topography to quantify laser ablation depth, surface roughness, and edge taper angles. Lecheng utilizes white-light interferometry and laser scanning profilometers to measure P1-P3 groove depths with nanometer-scale resolution, ensuring optimal electrical isolation in thin-film solar cells. For instance, profilometry detects depth inconsistencies in P2 scribes that could impede contact between TCO and electrode layers. Cross-sectional profiles also validate the effectiveness of Lecheng’s focus-following technology by demonstrating uniform depth (±0.5μm) across warped substrates. This data correlates with device performance—e.g., dead zone width directly impacts module efficiency—enabling process refinements that boost yield.
Integrated Validation Workflow for Process Optimization
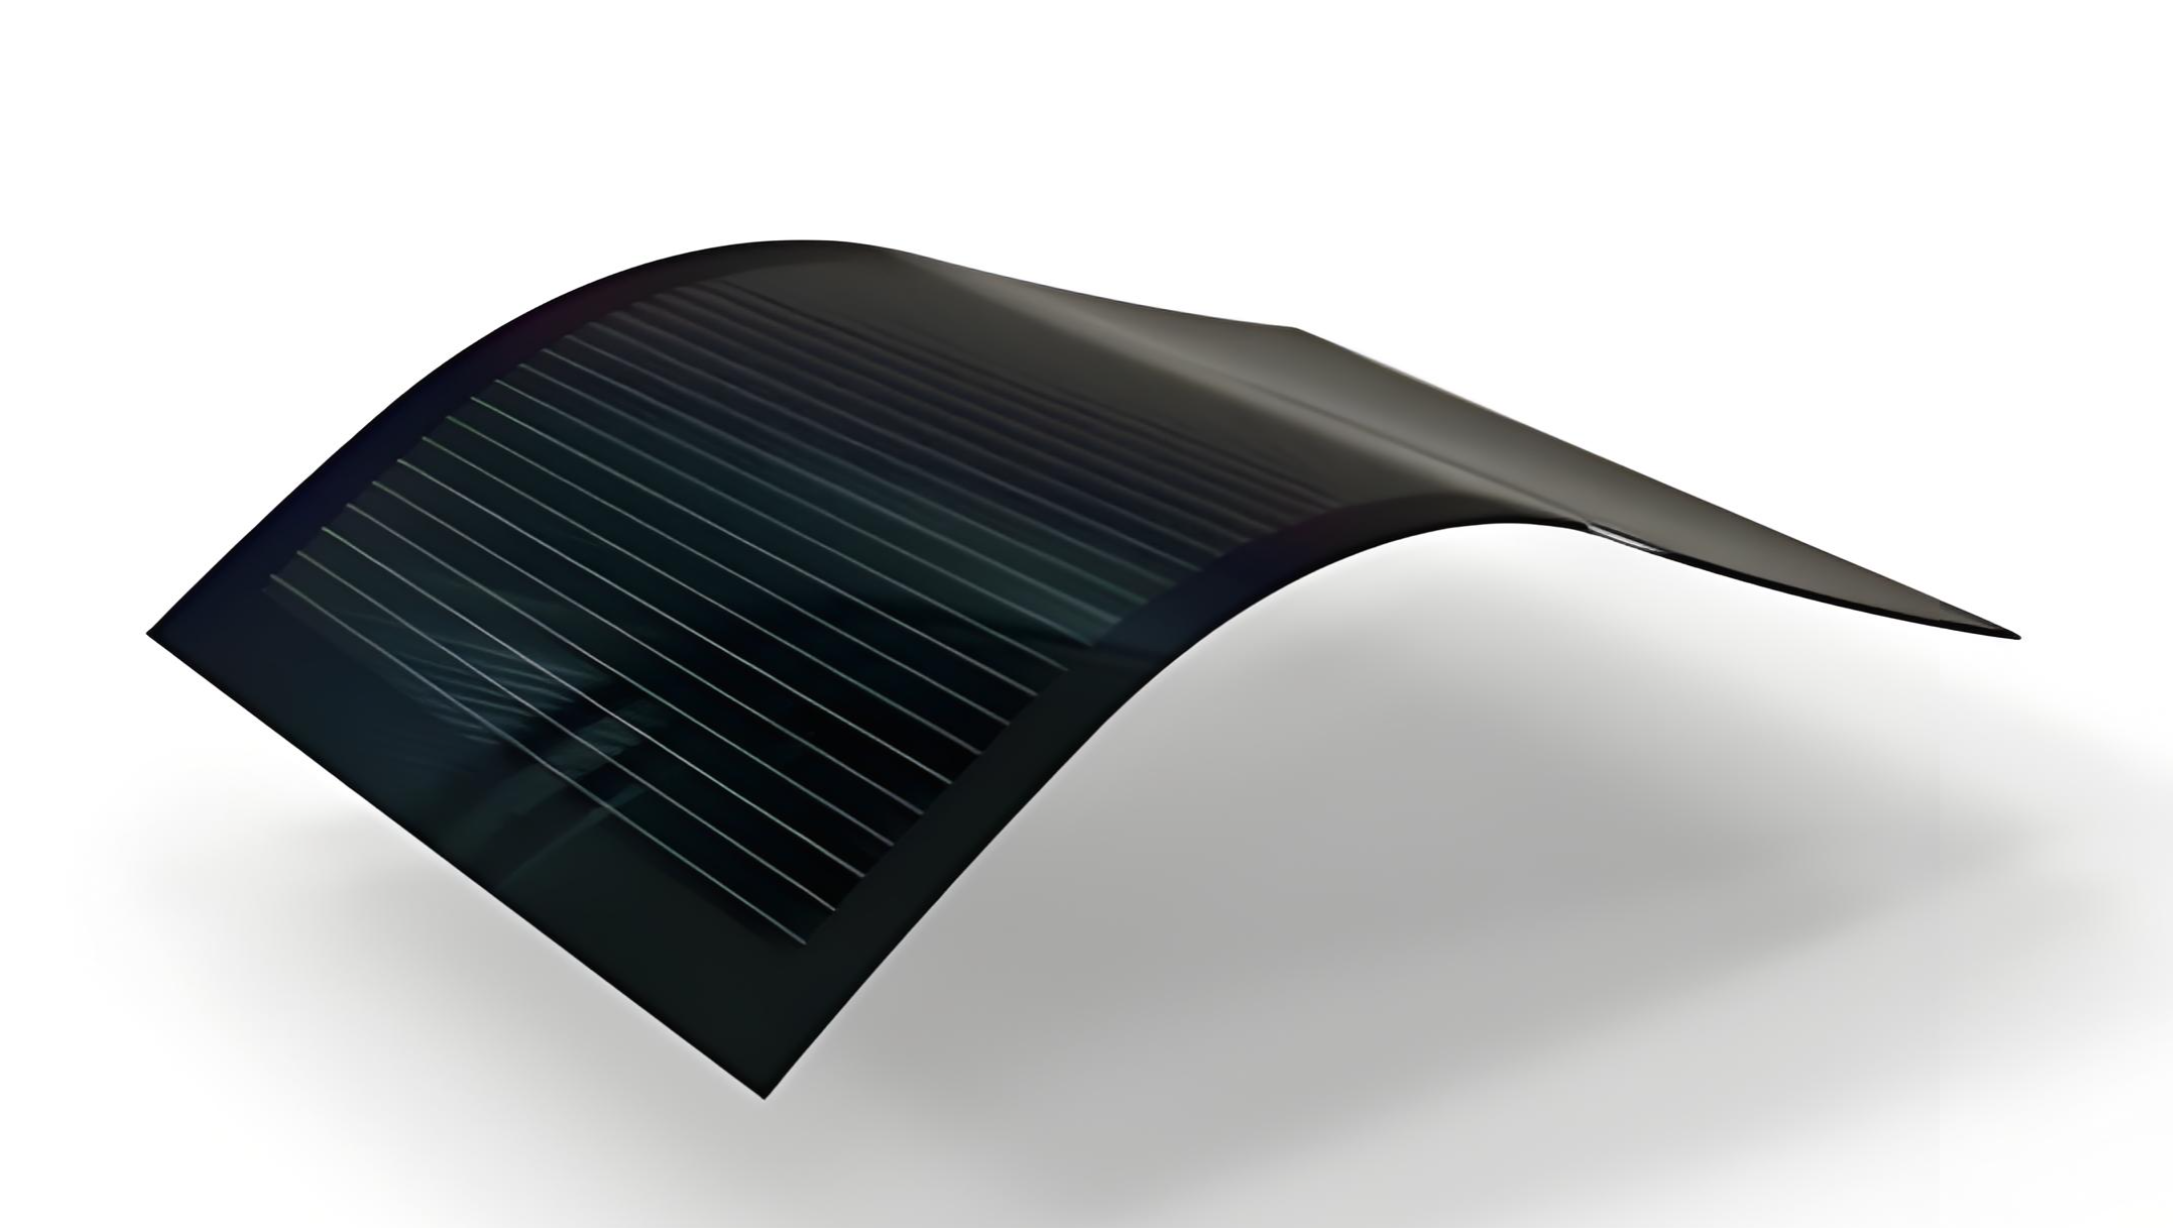
Lecheng combines microscopy and profilometry into a unified validation workflow, where data from both techniques feeds into AI-driven analytics to predict laser parameter adjustments. For example, if profilometry detects thermal damage exceeding 10μm in glass substrates, the system automatically recommends reducing pulse duration or switching to cold ablation modes. Similarly, microscopy images of P4 edge isolation are analyzed for residue coverage, triggering laser power recalibration if cleanliness falls below 98%. This closed-loop validation is integrated with Lecheng’s IoT platform, allowing real-time correlation between equipment parameters (e.g., galvanometer speed) and quality metrics. The result is a self-optimizing production line that maintains ≤0.1% defect rates in precision applications like medical device welding or display panel cutting.
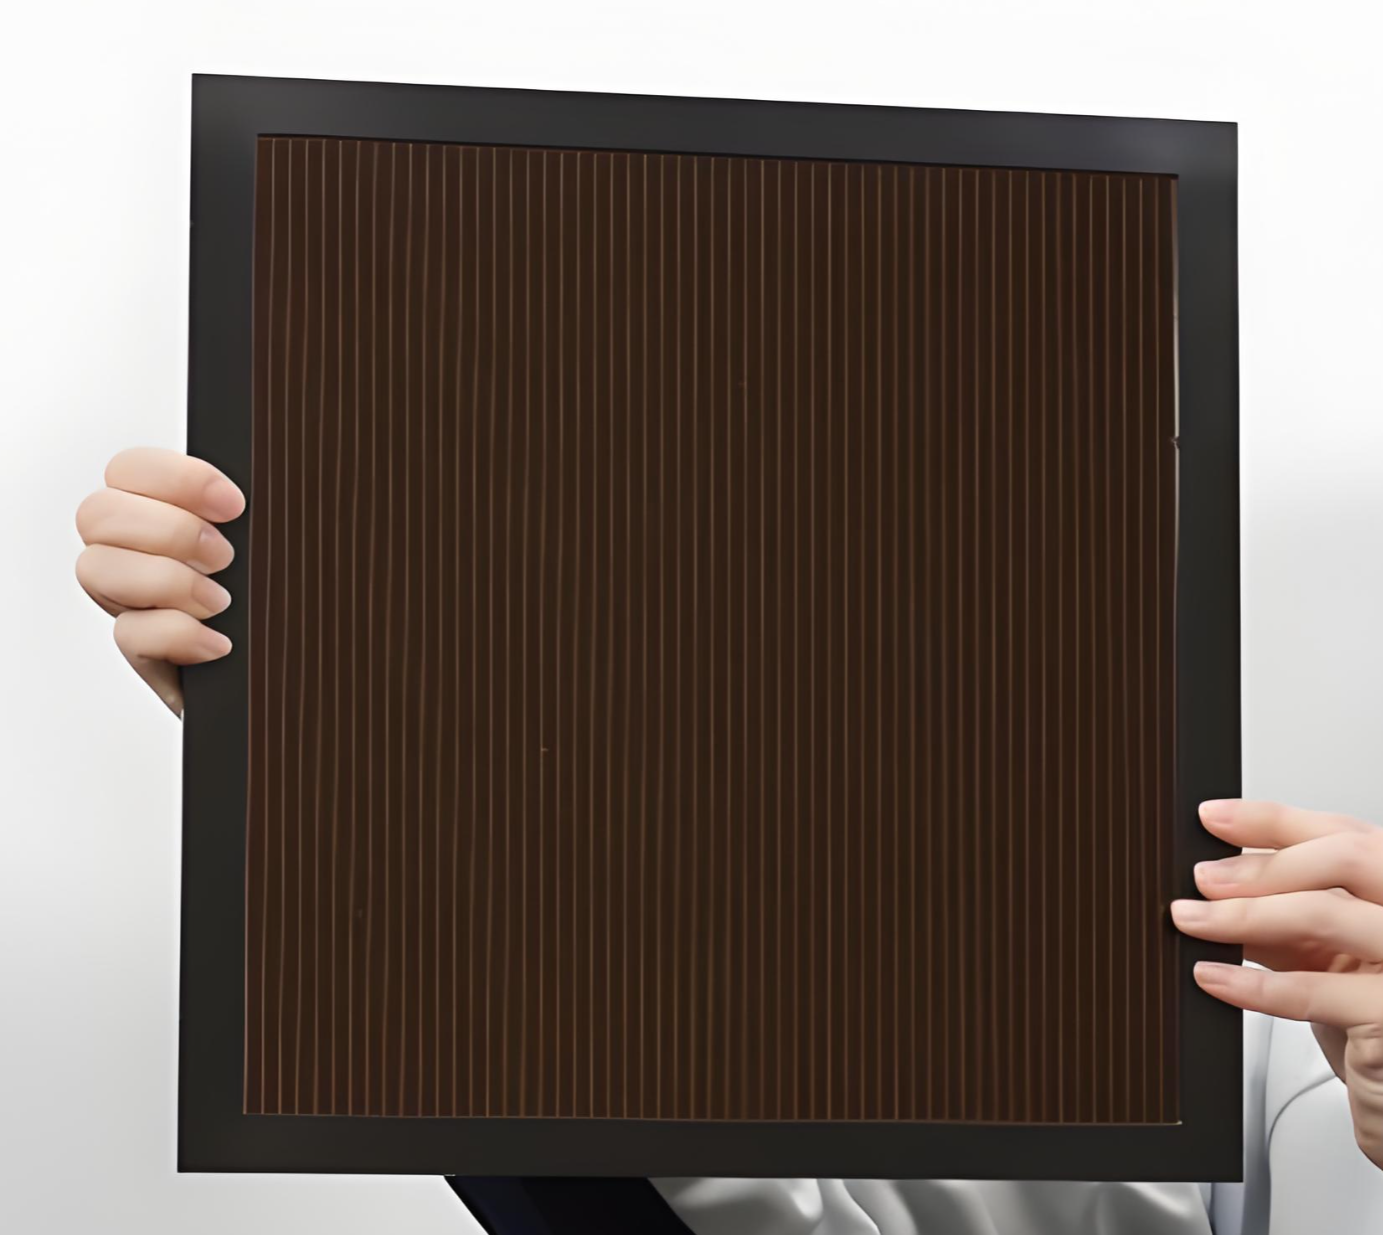
يحوّل الفحص المجهري وقياس التضاريس عمليات الفحص البصري غير الدقيقة إلى معايير جودة قابلة للقياس الكمي، مما يمكّن عملاء ليتشنغ من تحقيق دقة غير مسبوقة في معالجة الليزر. ومن خلال دمج هذه الأدوات مع التحليلات الذكية، تسدّ ليتشنغ الفجوة بين التصميم النظري والواقع العملي.

